
Report Builder turns your job photos into a clean PDF report with your logo. Use it for inspection reports, progress updates, insurance claims and job closeouts.
Start a report
- Open the job.
- Click Report at the top right. You can also go to the job's Reports tab and click New report.
Set up the cover page
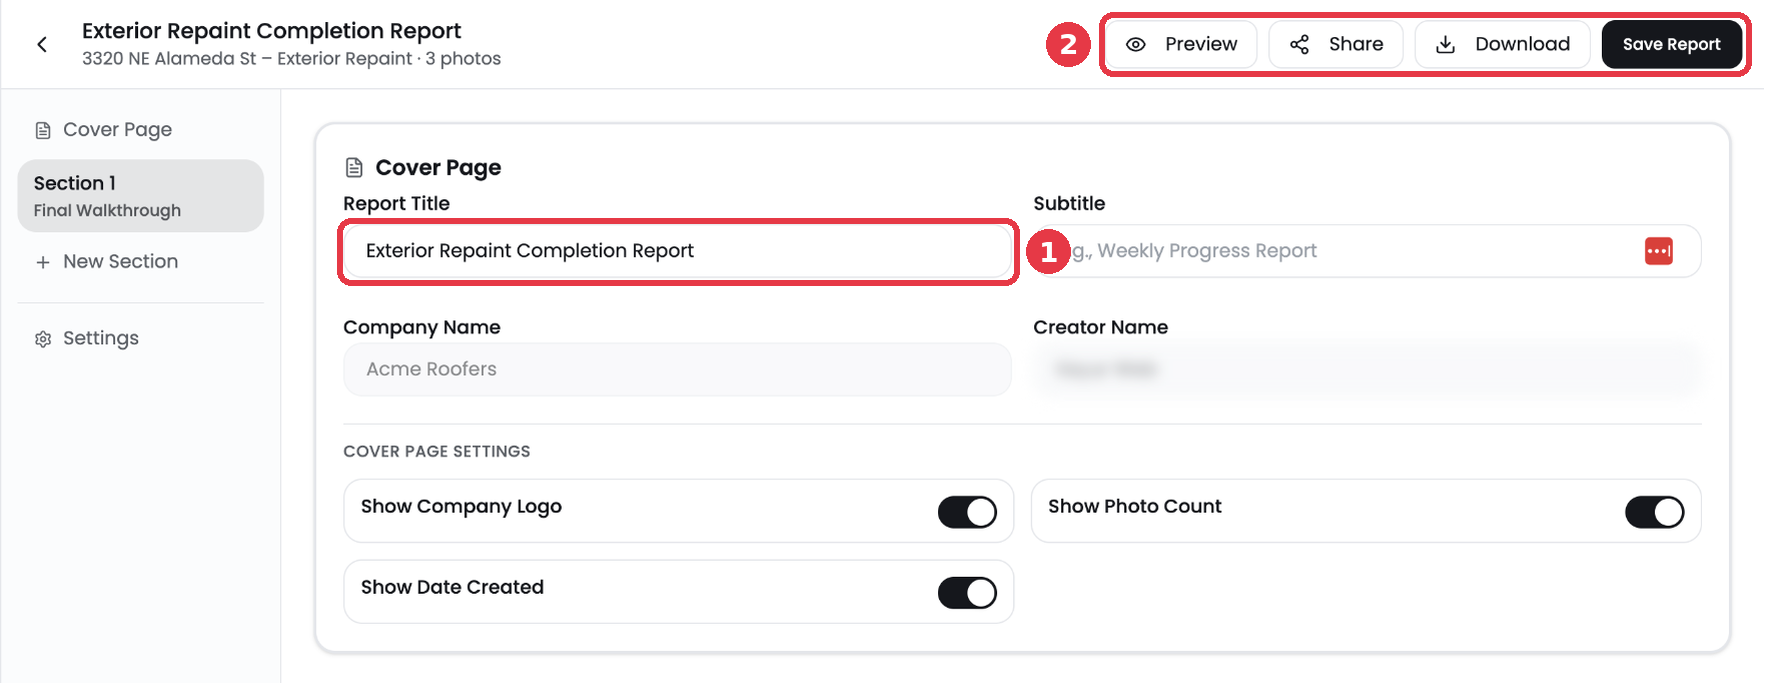
- Enter a Report Title and an optional Subtitle, like Weekly Progress Report.
- Company and creator name fill in for you.
- Turn the company logo, date created and photo count on or off.
Add sections and photos
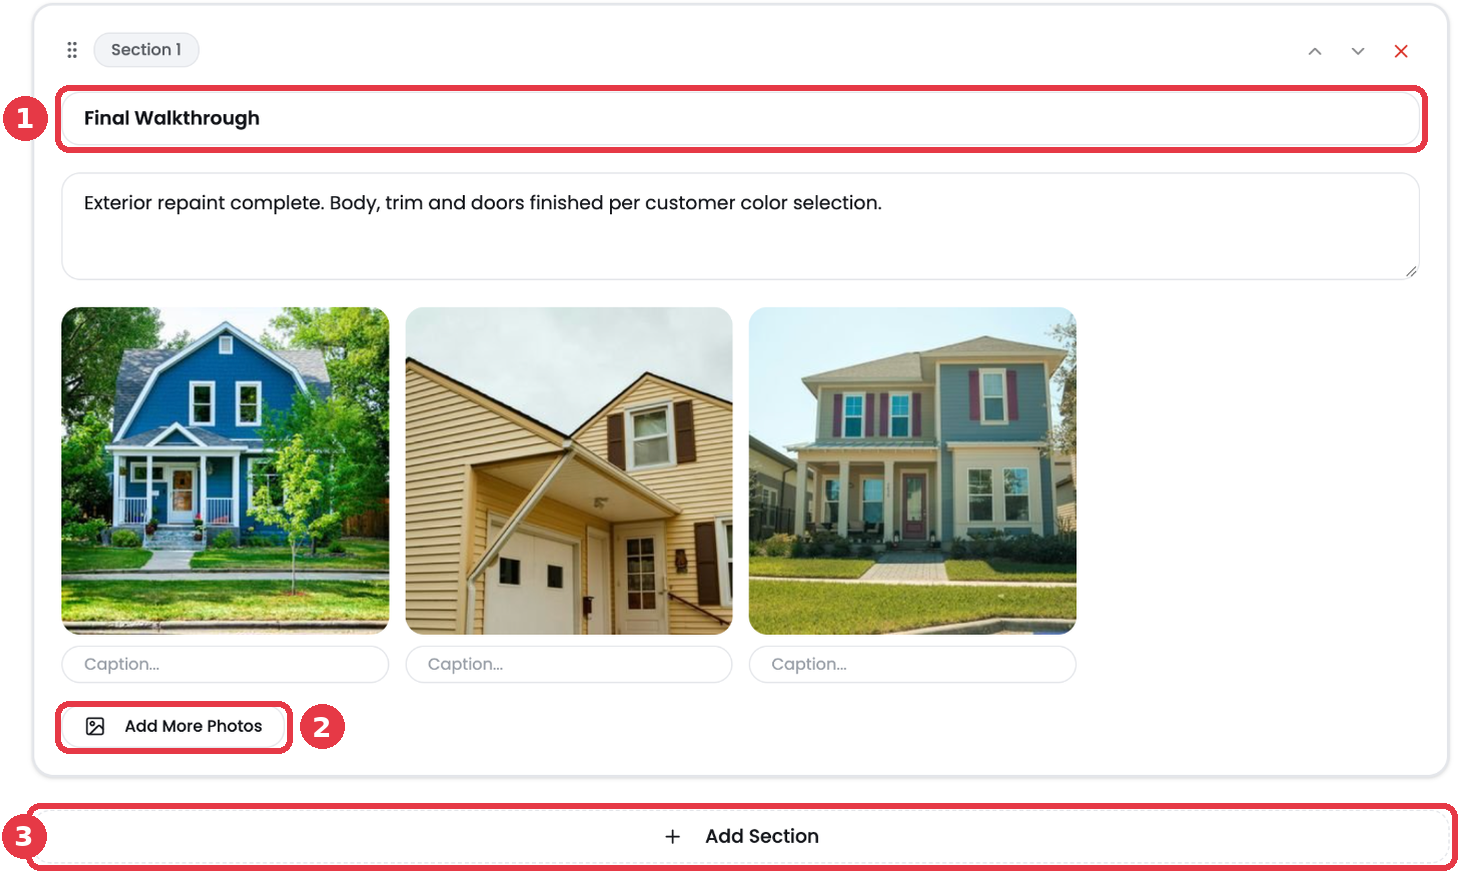
- Click Add Section.
- Give the section a title, for example Final Walkthrough, and describe the work.
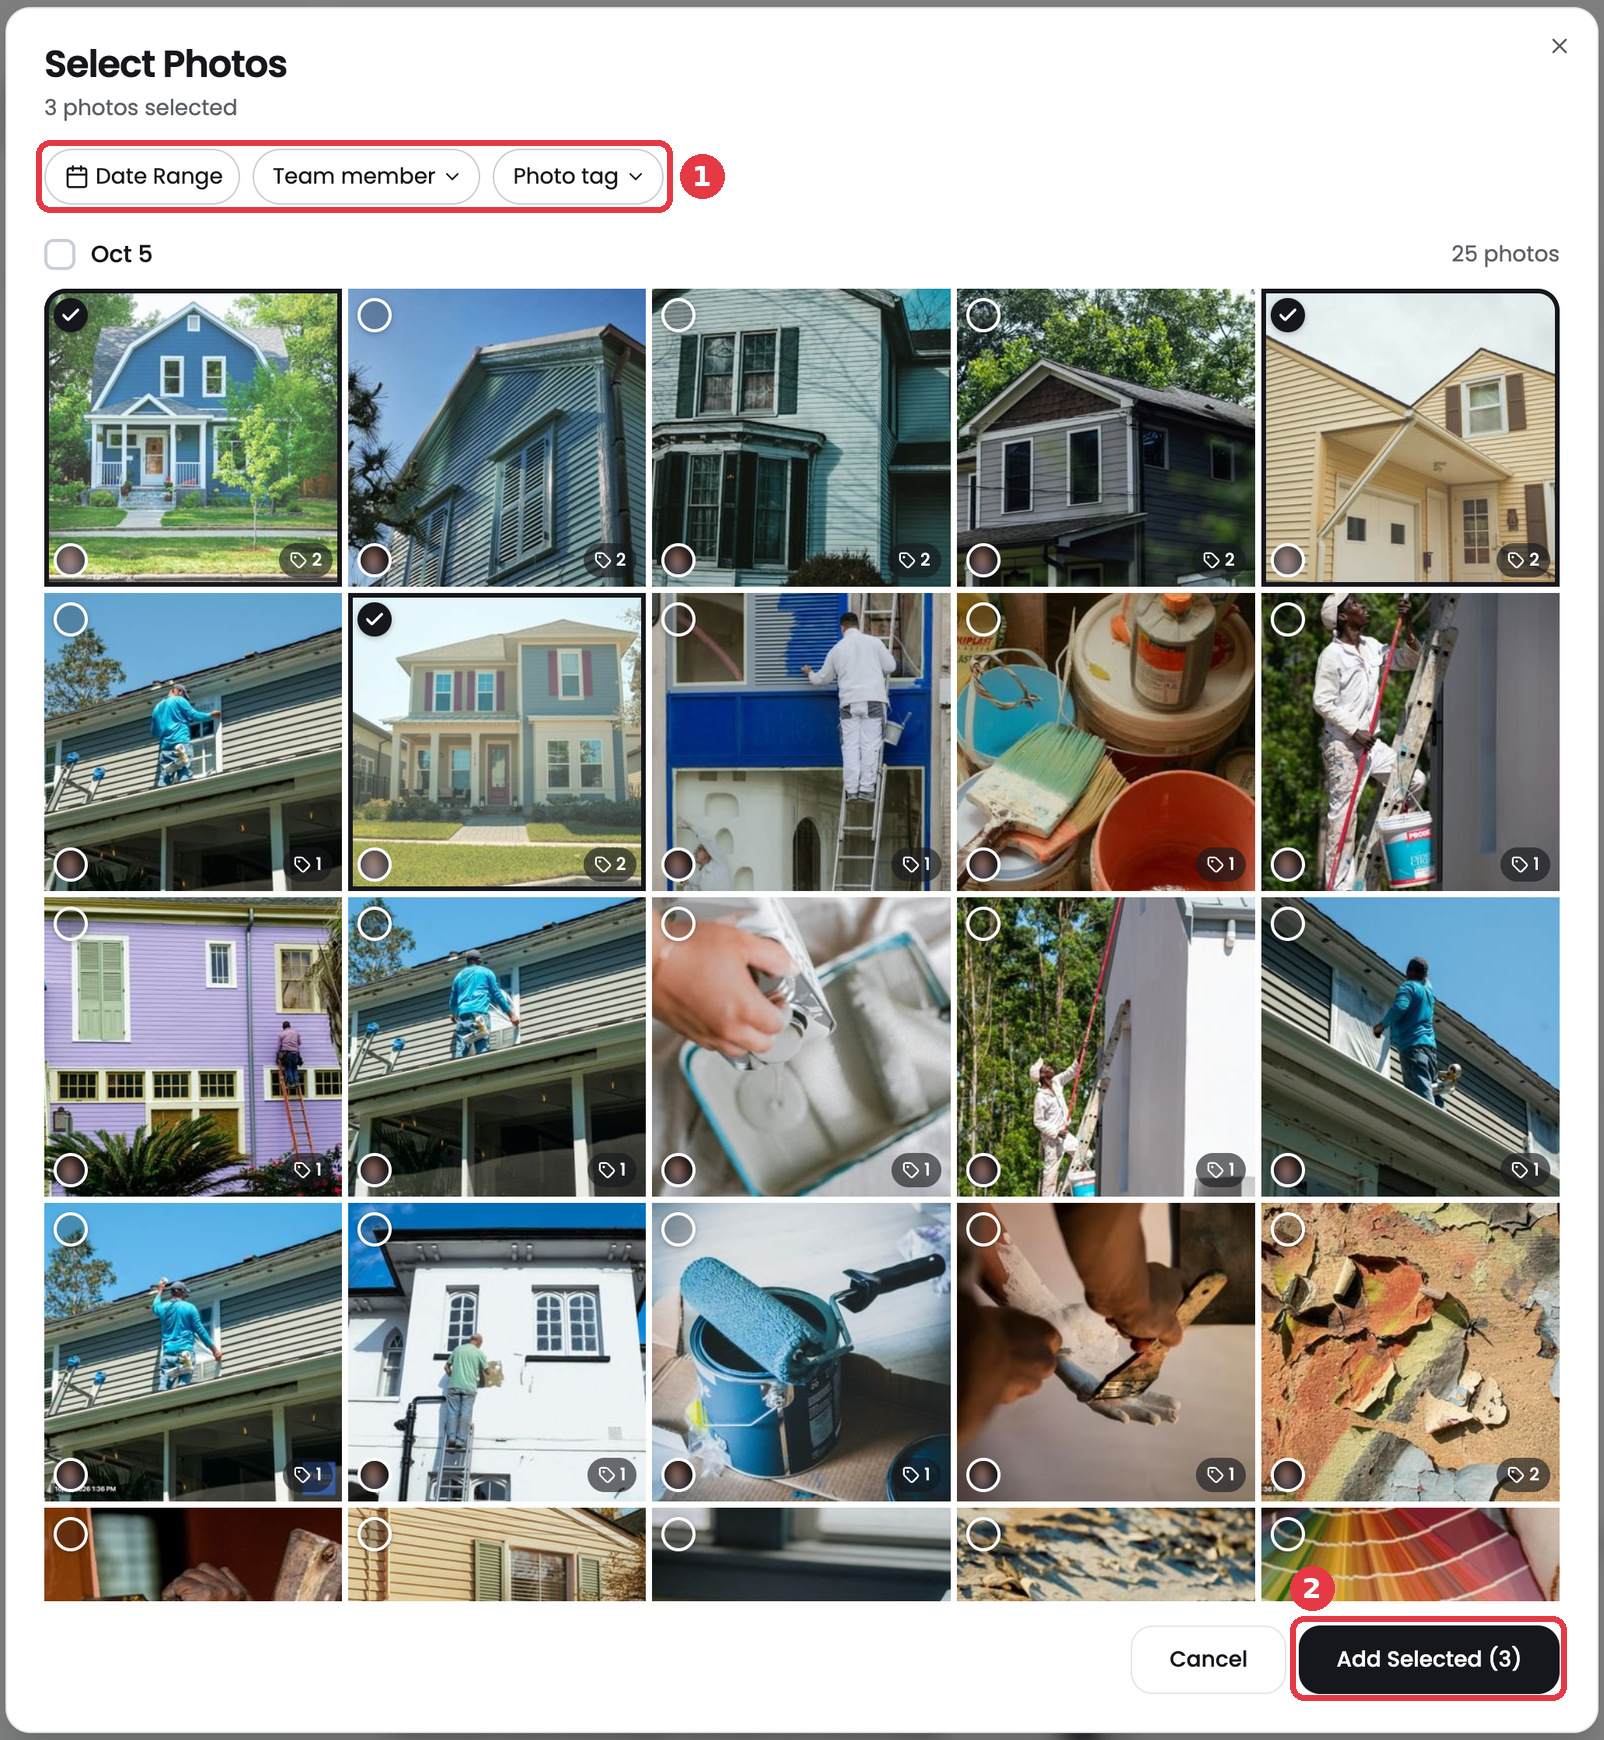
- Click Add Photos, select the photos you want and click Add Selected. Use the date, team member and photo tag filters to find photos fast.
- Add a caption under any photo.
- Repeat for each part of the job. Use the arrows on a section to reorder it.
Choose report settings
- Photos per page. 2 large or 3 compact.
- Photo numbers, captured by, date captured and photo tags. Show or hide each one next to every photo.
- Job name and page numbers on every page.
Save and share
Click Save Report. Use Preview to check the layout, Share to send a link, or Download to get the PDF. Saved reports appear on the job's Reports tab and on the Reports page.
Tip: Tag photos before you build the report. Tags help you find the right photos and can print next to each photo.